So, you bought your new spinning rod and reel. Now you need to know how to use it. Find a grassy place to practice (stay away from any surface that will tear up your line, like pavement or asphalt.)
STEP 1
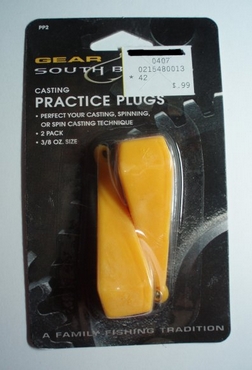
First assemble your outfit. Tie on a practice plug (cheap insurance against hooking yourself or orthers while you learn) with an improved clinch knot and set the drag.
STEP 1
First assemble your outfit. Tie on a practice plug (cheap insurance against hooking yourself or orthers while you learn) with an improved clinch knot and set the drag.
STEP 2
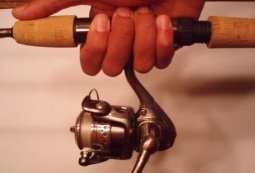
Hold the rod with your dominant hand. The reel should be below the rod. The reel foot usually goes between your middle finger and your ring finger, but if it feels better (more balanced) between other fingers, go with that.
Hold the rod with your dominant hand. The reel should be below the rod. The reel foot usually goes between your middle finger and your ring finger, but if it feels better (more balanced) between other fingers, go with that.
STEP 3
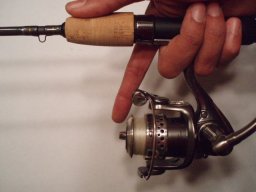
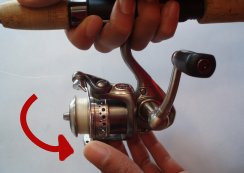
Pull out or reel in line until you have about six inches of line hanging out of the tip top. Turn the handle slowly until the line roller is directly underneath your index finger.
Pull out or reel in line until you have about six inches of line hanging out of the tip top. Turn the handle slowly until the line roller is directly underneath your index finger.
STEP 4
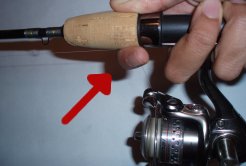
Hold the line against the rod with the crook of your index finger.
Hold the line against the rod with the crook of your index finger.
STEP 5
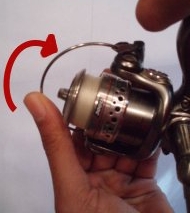
Open the bail with your other hand.
Open the bail with your other hand.
STEP 6
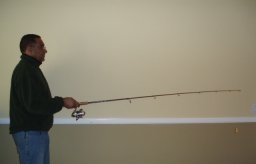
Point the rod at your target.
Point the rod at your target.
STEP 7
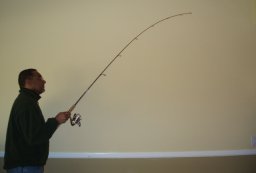
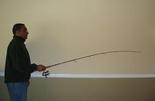
In one smooth motion bring the rod up to vertical.
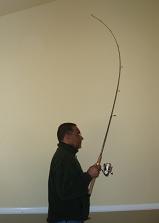
In one smooth motion bring the rod up to vertical.
Allow it to flex (the tip bends back behind you, this is called “loading” the rod,) without pausing , start to push the rod forward. Note that the movement is happening in your elbow and wrist, not at the shoulder.
When the rod tip is halfway to your target, let go of the line with your index finger to send the lure flying (hopefully at your target.) This step is all about timing.
Problem:
The plug went straight up into the air.
Solution: You released the line too early. Wait a little longer to release the line.
Problem: The plug crashed at your feet.
Solution: You released the line too late. Release the line sooner.
STEP 8
Close the bail with your free hand.
The plug went straight up into the air.
Solution: You released the line too early. Wait a little longer to release the line.
Problem: The plug crashed at your feet.
Solution: You released the line too late. Release the line sooner.
STEP 8
Close the bail with your free hand.
*I recommend closing the bail by hand, because doing so eliminates loops in the line that are caused by turning the handle to engage the bail. These loops will turn into ugly tangles after repeated casting.
Congratulations! You now know how to cast a spinning rod. You will get more out of your practice time if you set up a real target to aim for: use a paper plate on the ground, a hulla-hoop, ect. The more you practice now, the less time you’ll spend getting your lures out of trees later.
Congratulations! You now know how to cast a spinning rod. You will get more out of your practice time if you set up a real target to aim for: use a paper plate on the ground, a hulla-hoop, ect. The more you practice now, the less time you’ll spend getting your lures out of trees later.

 RSS Feed
