Once made principally of cane or bamboo, most fishing rods today are made of fiberglass, graphite, or boron composite. Although the newer materials are more resilient, modern fishing rods still can break, but in most cases, a broken fishing rod can be repaired. The following steps describe how to fix a broken fishing rod and replace broken rod guides.
Method 1 of 3: Fixing a Broken Rod Blank
Method 1 of 3: Fixing a Broken Rod Blank
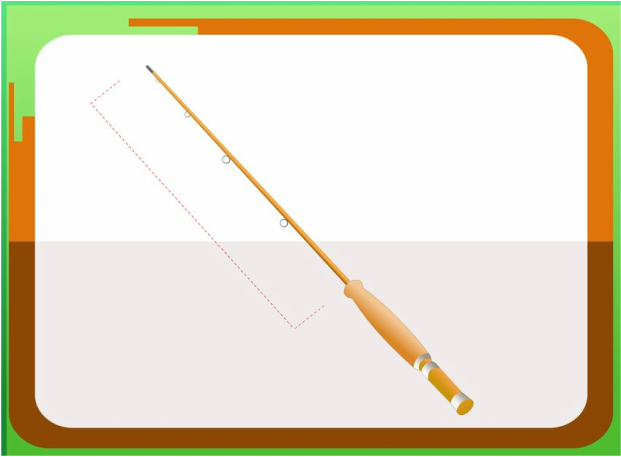
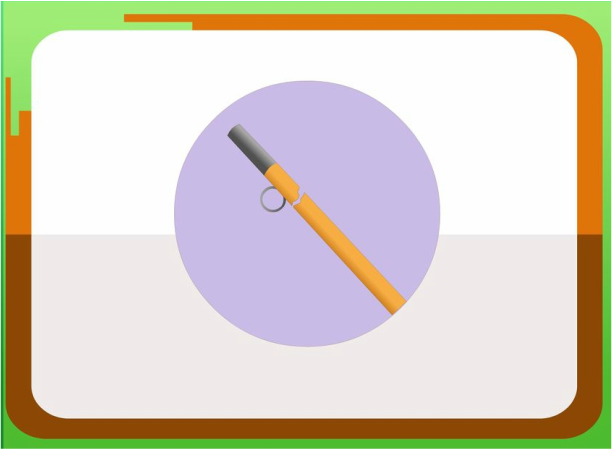
1. Determine where the break occurred. Where the rod broke determines what you'll do next.
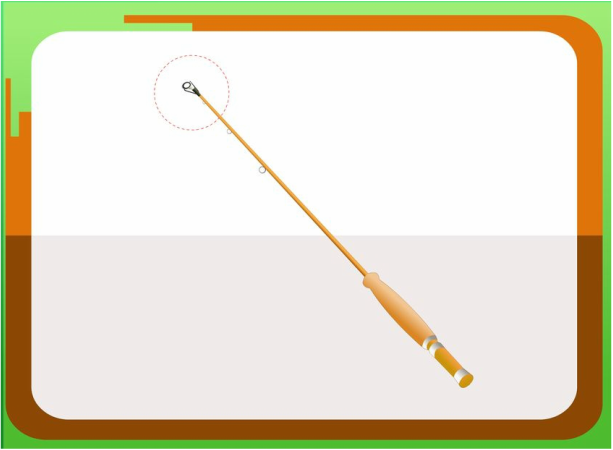
- If the rod broke near the tip, you'll either have to replace the tip top/tip ring or cut the broken tip and put a new, larger tip top on the rod. See "Fixing a Broken Rod Tip" for details.
- If the rod broke somewhere else, you'll have to cut out the break and insert a ferrule.
2. Cut off the frayed ends of the break. Trim the ends until each is neat and square.
3. Measure the diameter of each cut piece. You'll need these diameters to find the right size of ferrule to buy.
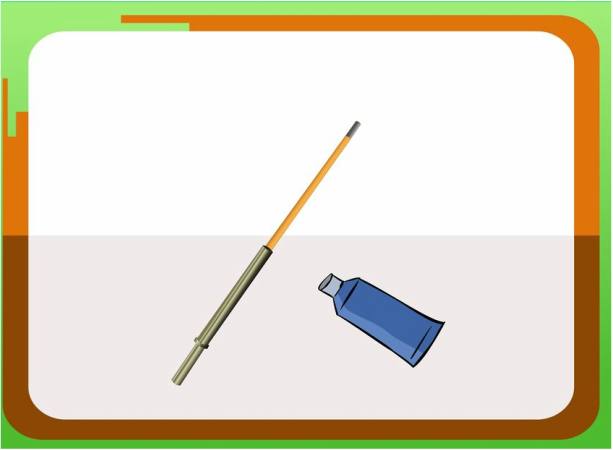
4. Glue the male ferrule end to the end of the rod that includes the rod tip. You can use an epoxy resin glue that sets as fast as 5 minutes, although some professional rod repairers prefer a 2-part epoxy that takes longer to cure to allow more time to position the ferrule correctly.
- Don't separate the male and female ferrule until finished with this procedure.
5. Glue the female ferrule to the end of the rod that includes the rod handle. Allow the cement to dry thoroughly before continuing.
- If the break occurred near a rod guide or the reel seat, the rod's action will be largely unaffected. If the break occurred elsewhere in the middle of the blank, the ferrule will dampen the action, particularly if it is a metal ferrule.
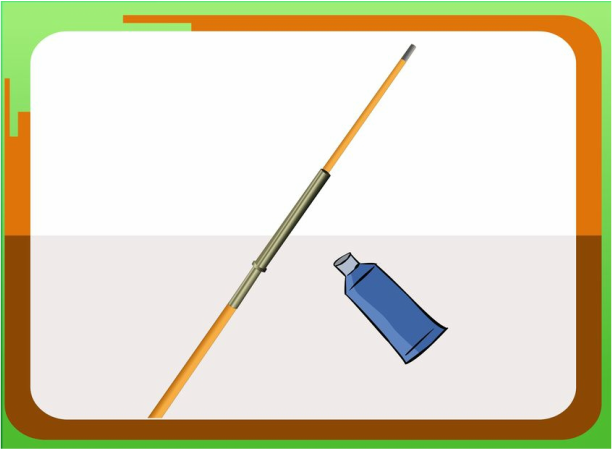
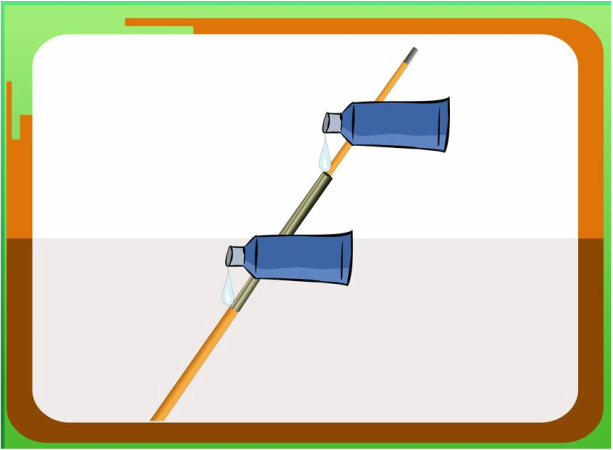
6. Cover the area where the ferrules meet the rod blank with epoxy. You want to build up a "sleeve" that covers either side of the ferrules up to the point where you can no longer see any damage. Let the glue cure completely before continuing.
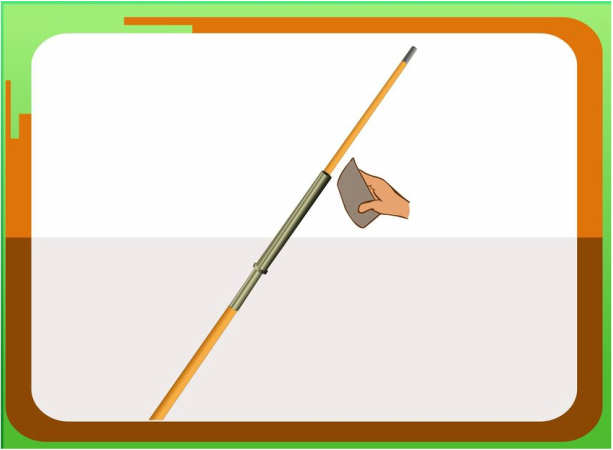
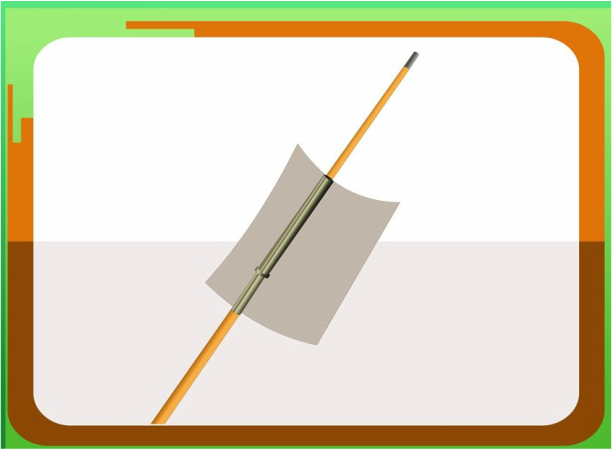
7. Lathe the splice to get it as close to the original diameter of the rod blank as you can. This requires using a lathe specially designed for fishing rods; if you don't have such a lathe, you can use fine sandpaper instead. Whichever method you use, work slowly.
- Do not bend the rod while doing this, as this will split the epoxy sleeve.
8. Wrap the ends of the ferrules, and the epoxy sleeve, to match the wrapping around the rod guides. Once the wrappings are in place, coat them with a thin epoxy resin or polymer.
- If the rod broke near enough to a guide, you can move the guide over the splice before wrapping the ferrules.
- You can also further disguise the break by adding decorative wrappings elsewhere on the rod.
Method 2 of 3: Fixing a Broken Rod Tip
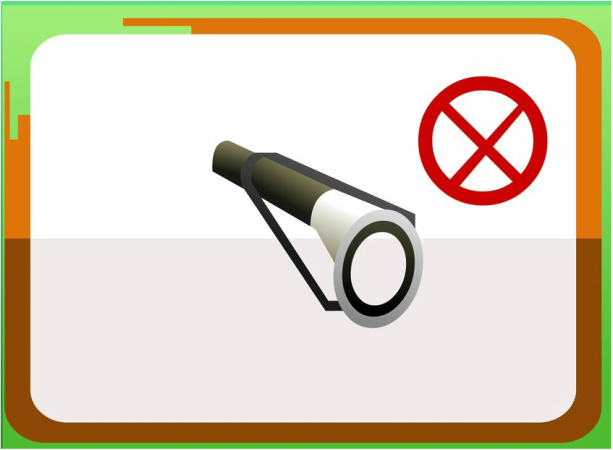
1. Inspect the rod to see exactly what's been broken. If the damage is to the tip top alone (broken or grooved guide ring), you can simply replace the tip top with a new one. If the damage is to the rod blank at the tip, you'll have to cut the rod tip cleanly as close to the end as you can.
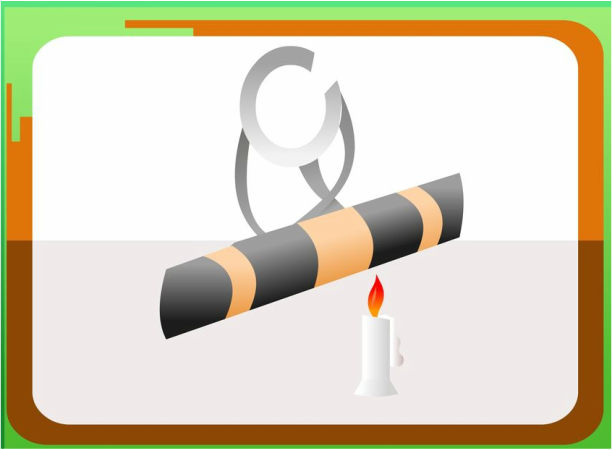
2. Remove the old tip top. If you didn't have to cut the rod to remove the old tip top, you can remove it by applying heat to the glue holding it onto the rod tip and twisting gently to remove it. If the tip won't come off, you'll have to cut the rod at the end of the tip top as though the rod itself had broken there.
- Avoid using too much heat, or you might damage the rod tip itself.
3. Measure the tip of the rod for a new tip top. You'll need a tip gauge, which is a card or piece of metal with holes. Insert the rod through each hole until you get a tight fit; whichever gauge size that hole is will be the size of tip top you need.
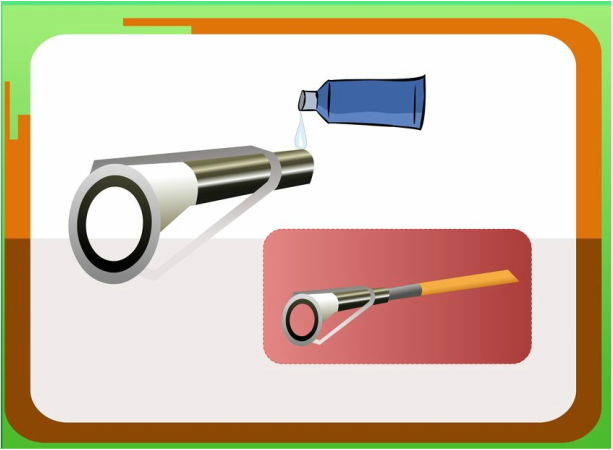
4. Glue the new tip top on. Apply the glue to the rod tip, then affix the new tip top, gently twisting it into place so that it lines up with the other rod guides.
Method 3 of 3: Fixing a Broken Rod Guide
- As the tip top guide is more prone to wear than the other guides, if you have to replace the tip top, you should get a replacement with a guide ring of either tungsten carbide or aluminum oxide, both of which are more resistant to grooving than steel. They are more susceptible to side impact damage (crushing), however.
Method 3 of 3: Fixing a Broken Rod Guide
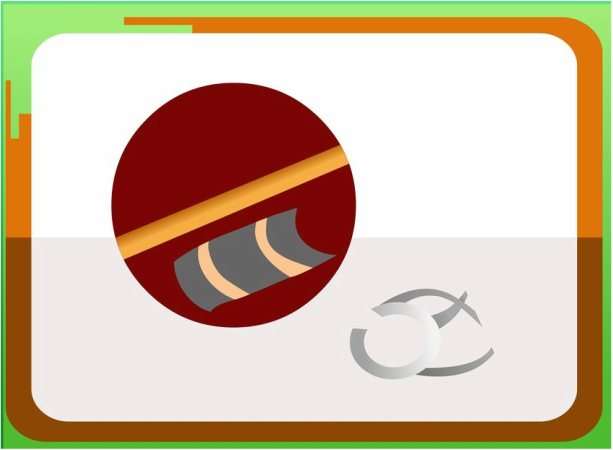
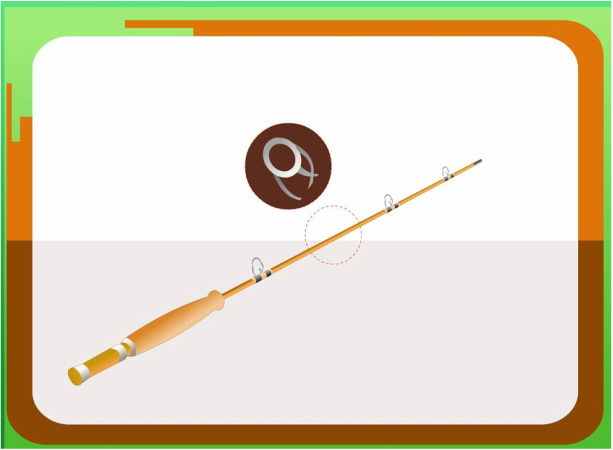
1. Measure the diameter of the broken guide. You want a new guide with the same diameter as the original guide. (This is particularly important if the guide is the guide nearest the rod on a spinning reel, which is particularly large to accommodate line coming off the reel during a cast.)
2. Heat the epoxy sealing the guide wrappings.
3. Cut the wrappings on either side of the guide with a razor blade. Cut the wrappings on top of or on the edges of the guide feet if you can. Avoid cutting into the rod blank.
4. Remove the old guide and the rest of the guide wrappings.
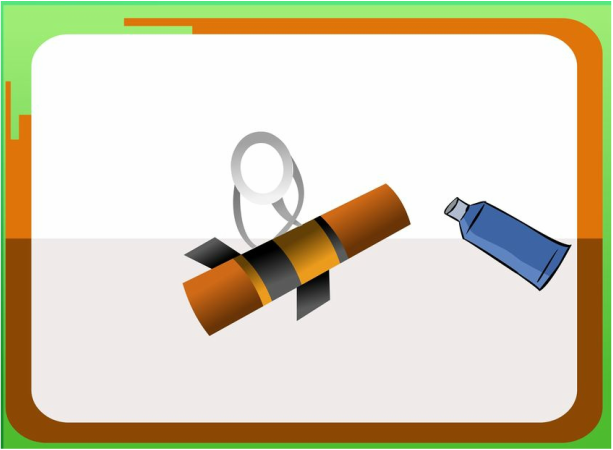
5. Put the new guide in place. Be sure to line it up with the other guides so that its bottom center aligns with the bottom centers of the guides on either side of it.
6. Wrap the feet of the new guide to secure it. Check the alignment of the new guide with the other guides a final time before coating the new wrappings with epoxy resin or polymer to seal them in place.
Tips
Tips
- If, after reading the above instructions, you find it too challenging to fix a broken rod yourself, you can take your rod to a professional repairer to have it fixed for you. You can find one through your local sporting goods store or on the Internet.
- Instead of repairing your rod to close to its original length, you can take a rod that broke 1/3 to 1/2 the distance from the handle to the tip and convert the tip section into an ice fishing rod.






 RSS Feed
