
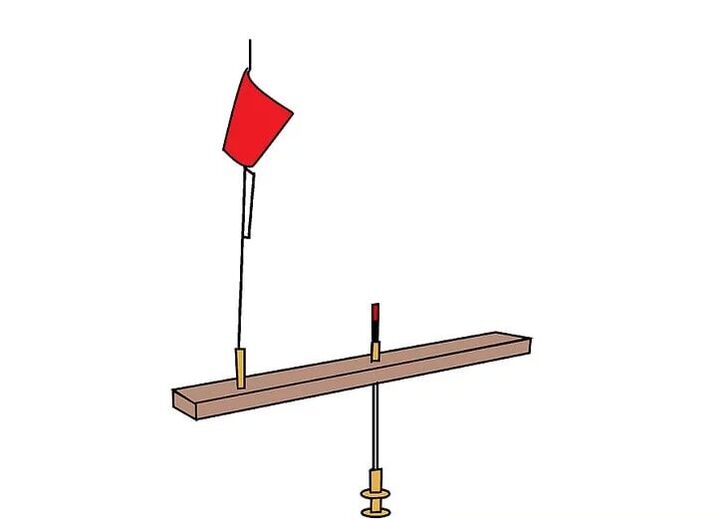
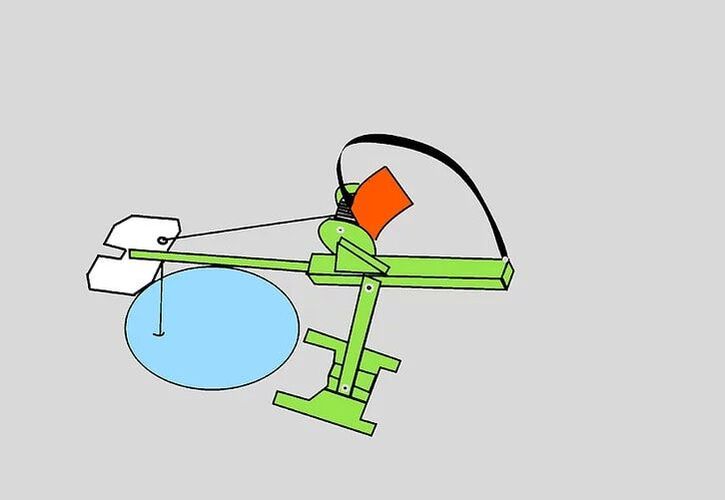
Tip-ups are to ice fishing what trot lines are to river bank fishing for catfish, a way to present live bait to fish without holding on to a rod. Tip-ups allow ice fishermen to fish multiple holes at the same time, fish various depths at once, or work various positions on drop-offs or other bottom structures. Tip-ups are rigged with a small flag that pops up when a fish takes the bait, hence their name. Following are steps on how to choose and set up an ice fishing tip-up.
Method 1:Choosing a Tip-Up

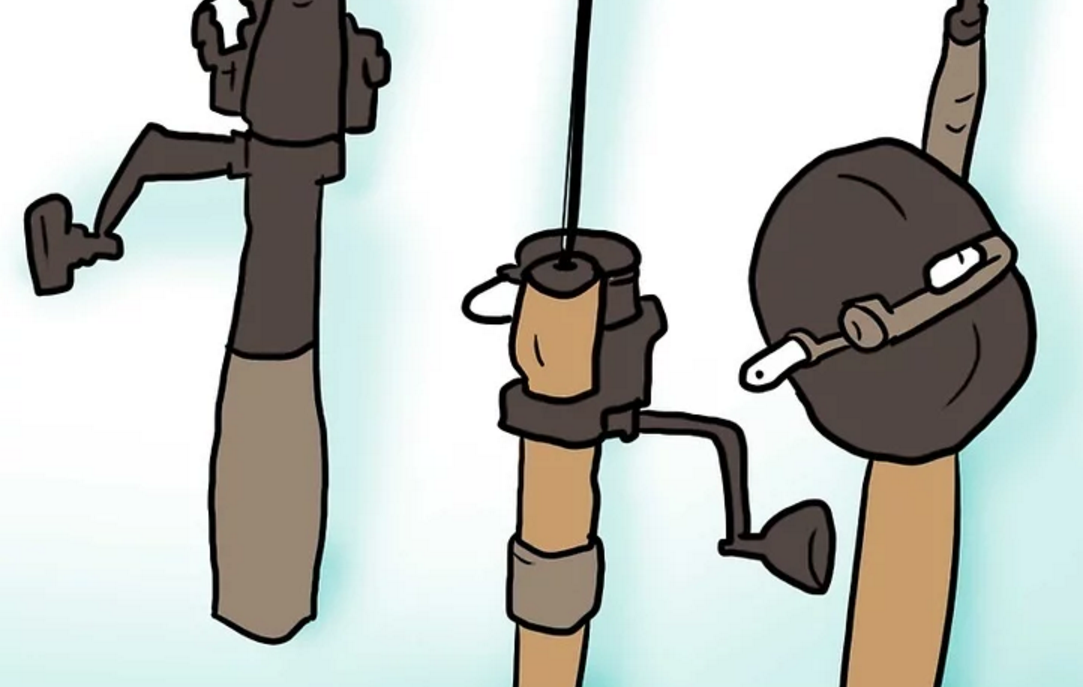
1. Choose a durable tip-up. While some tip-ups offer fancy looks and features, you want to look at the materials the tip-up is made of. Although plastics are lighter in weight, they usually do not handle exposure to sunlight and cold weather as well as either wood or metal.
- Most tip-ups are designed so that the line spool is underwater when the tip-up is set up. The water protects the spool and line from freezing in the cold air. Some tip-ups, however, use a windlass design that keeps the line spool and most of the tip-up above the water.

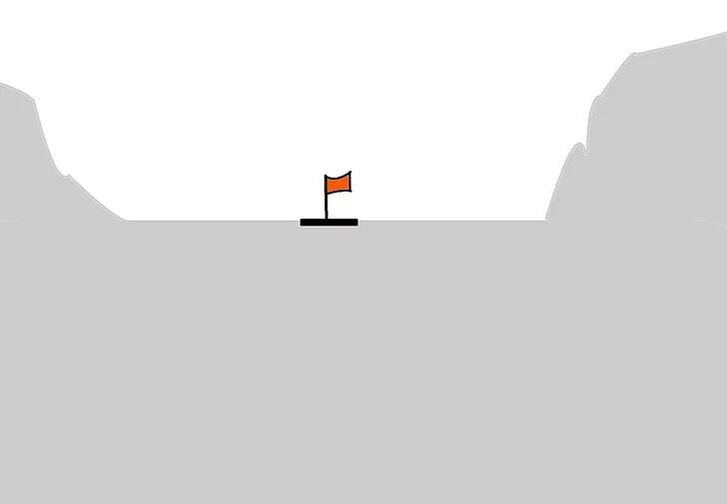
2. Choose a tip-up you can see from a distance. Your tip-up should have a large enough flag on a long enough pole that you can see it from a distance of 100 yards (91.4 m) (90 m) in most weather conditions. Choose an orange flag over a yellow one, as a yellow flag will appear white as you get further away from it.
- Having the rest of the rig be brightly colored as well can be helpful as well to keep you from accidentally stepping on it as you check all your rigs. If your tip-up isn't brightly colored but is made of wood or metal, you can paint it so you can see it better.

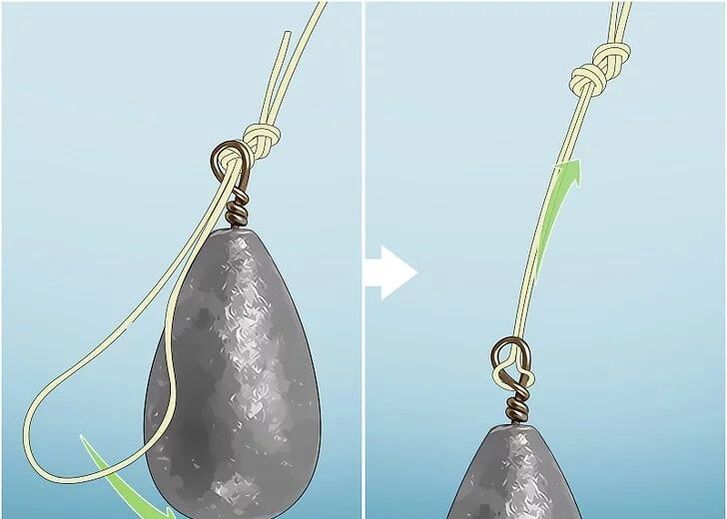
3. Look for helpful features. In addition to their cross pieces, line spool, and flag, some tip-ups offer special features to assist ice fishermen in recognizing when a fish is on the line and helping to keep the hole being fished open.
- Some tip-ups supplement the flag with an "action indicator" that shows the line movement when a fish has taken the bait and is swimming away with it.
- Some tip-ups feature a round cover that fits over the hole being fished to keep it from being exposed to the air and thus freezing over.

Method 2: Rigging a Tip-Up
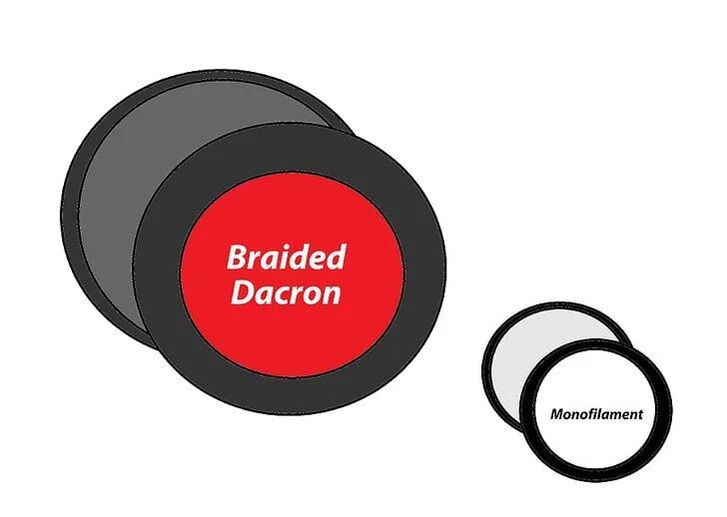
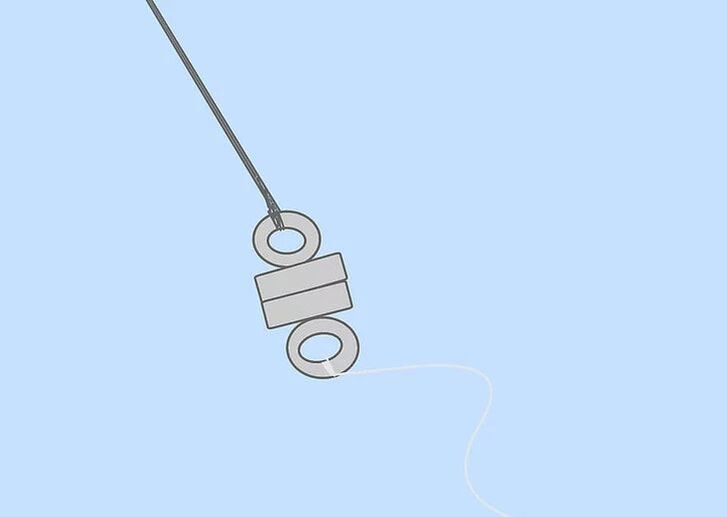
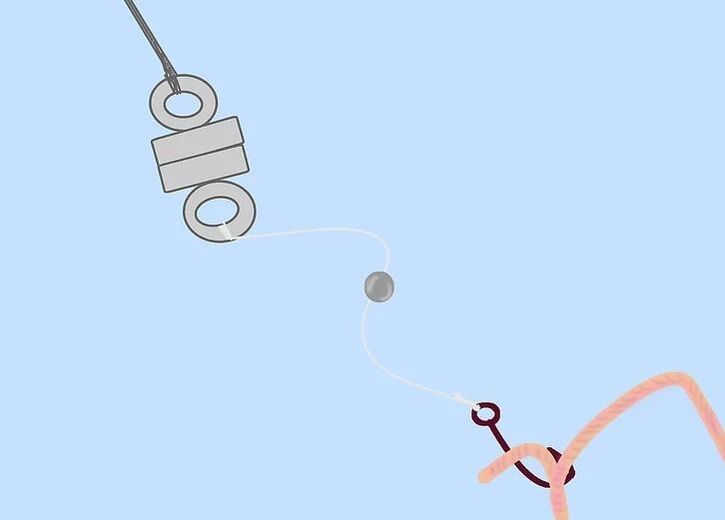
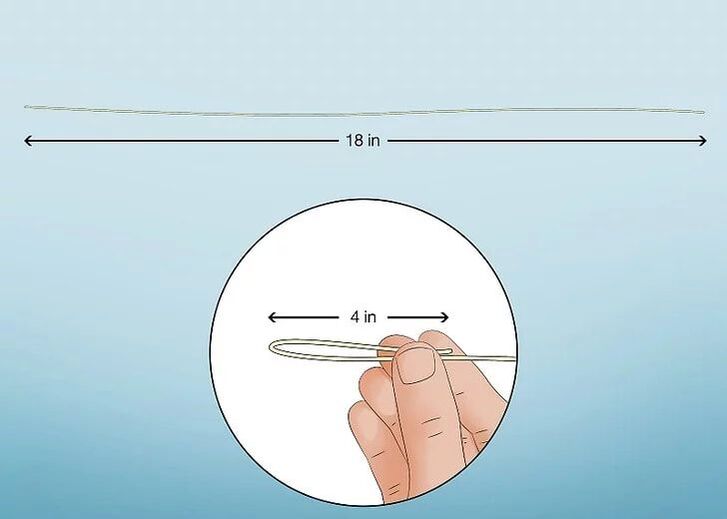
1. Fill the line spool with a braided or Dacron line. While monofilament line is appropriate for the reel on an ice fishing rod, a braided or Dacron line of 30 to 40 pound test (15 to 20 kg class) is a better choice for a tip-up, as you can see it more easily against the snow than a (usually) clear monofilament line. You will need a short length of monofilament?- from at least 6 inches (15 cm) to as much as 3 to 4 feet (0.91 to 1.2 m) (0.9 to 1.2 m) of 8 to 10 pound test (4 to 5 kg class) -- for a leader, but only for that purpose.
- If ice fishing for pike, substitute a braided steel leader for the monofilament

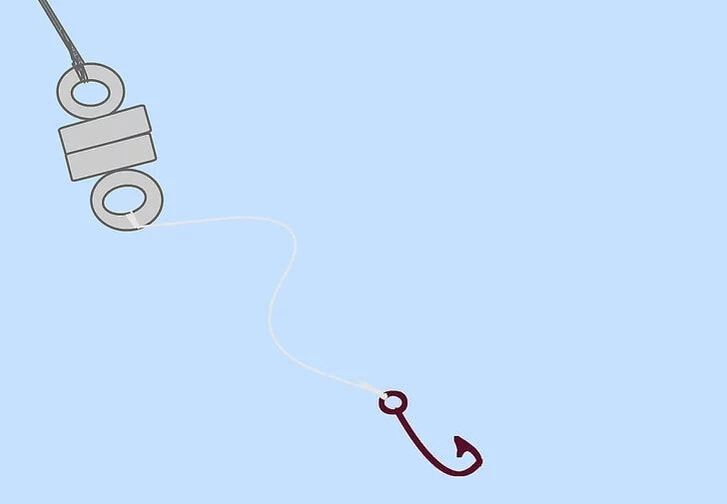
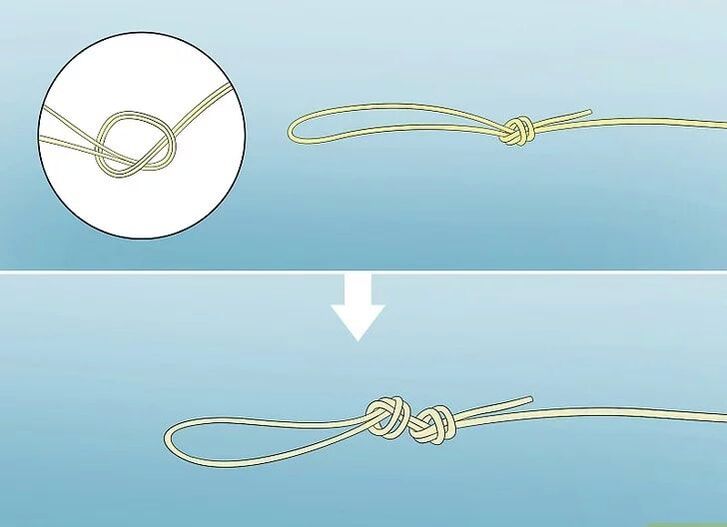
2. Attach a swivel to the end of the line. Your monofilament leader is attached to the other end of the swivel.

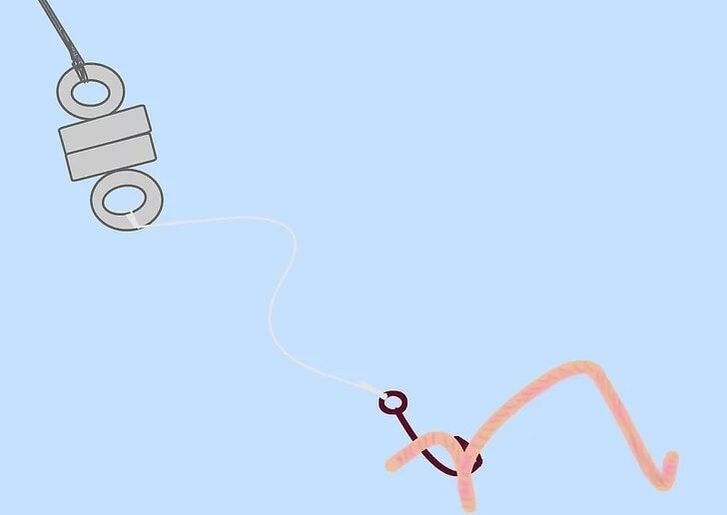
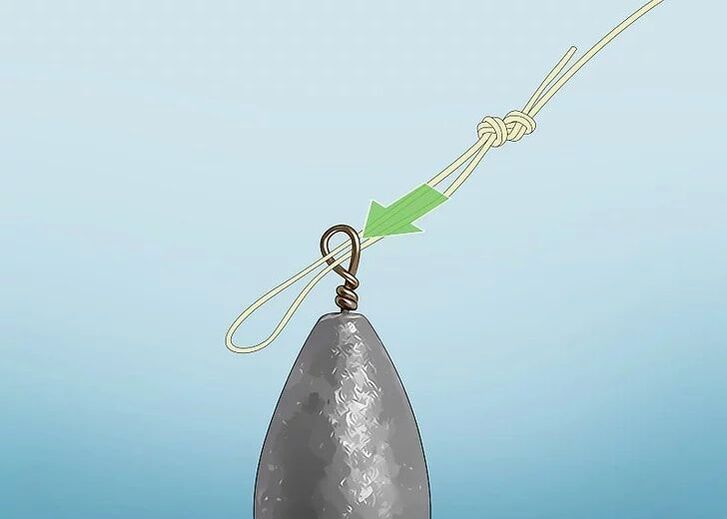
3. Attach a hook to the other end of the leader. The size and type of hook depends on the type of fish you're after.
- For bluegill, crappie, perch, or other panfish, use a size 6 or size 8 single hook.
- For walleye, use a size 4 or size 6 single hook.
- For pike, use a size 2/0 to 6/0 single hook or a treble hook. Some hook rigs for pike feature a pair of treble hooks.

4. Bait your hook with the right live bait for the species you're after. In most cases, you'll use minnows, shad, or suckers; however, grubs, mealworms, or waxworms can be effective for panfish. Pieces of nightcrawlers work well for bluegill, crappie, and perch, while whole nightcrawlers are good bait for catfish or largemouth bass.

5. Use enough split shot to keep your bait down, but no more. Attach your split shot to the leader, far enough from the bait to sink it, but not enough to impair its swimming ability; about 4 to 5 inches (10 to 12.5 cm) is about the right distance.
- Using split shot with little projections at the end opposite the mouth of the split shot will let you change split shot weights as necessary without having to cut the leader to change the shot.
Tips
- Check the laws of your state or province regarding how many ice fishing rods and tip-ups you can use at any given time.
- To maintain your tip-up, periodically spray the moving parts of the line spool and flag release mechanism with a water displacement or silicone-based lubricant. The screws, nuts, and bolts on any metal parts, particularly those that fold in or out, should also be sprayed with a lubricant or anti-corrosive chemical.
- When you first start ice fishing, a good hand-powered ice auger is sufficient for drilling the holes you need. As you gain more experience, you may want to purchase a power auger. Some fishermen choose to drill multiple holes in the ice, while others drill only a single hole at a time. If you choose to drill several holes at once, you'll want a skimmer to keep the holes clear of slush while you fish.


 RSS Feed